Character Creator for RenPy
How to modify the Character Creator for RenPy
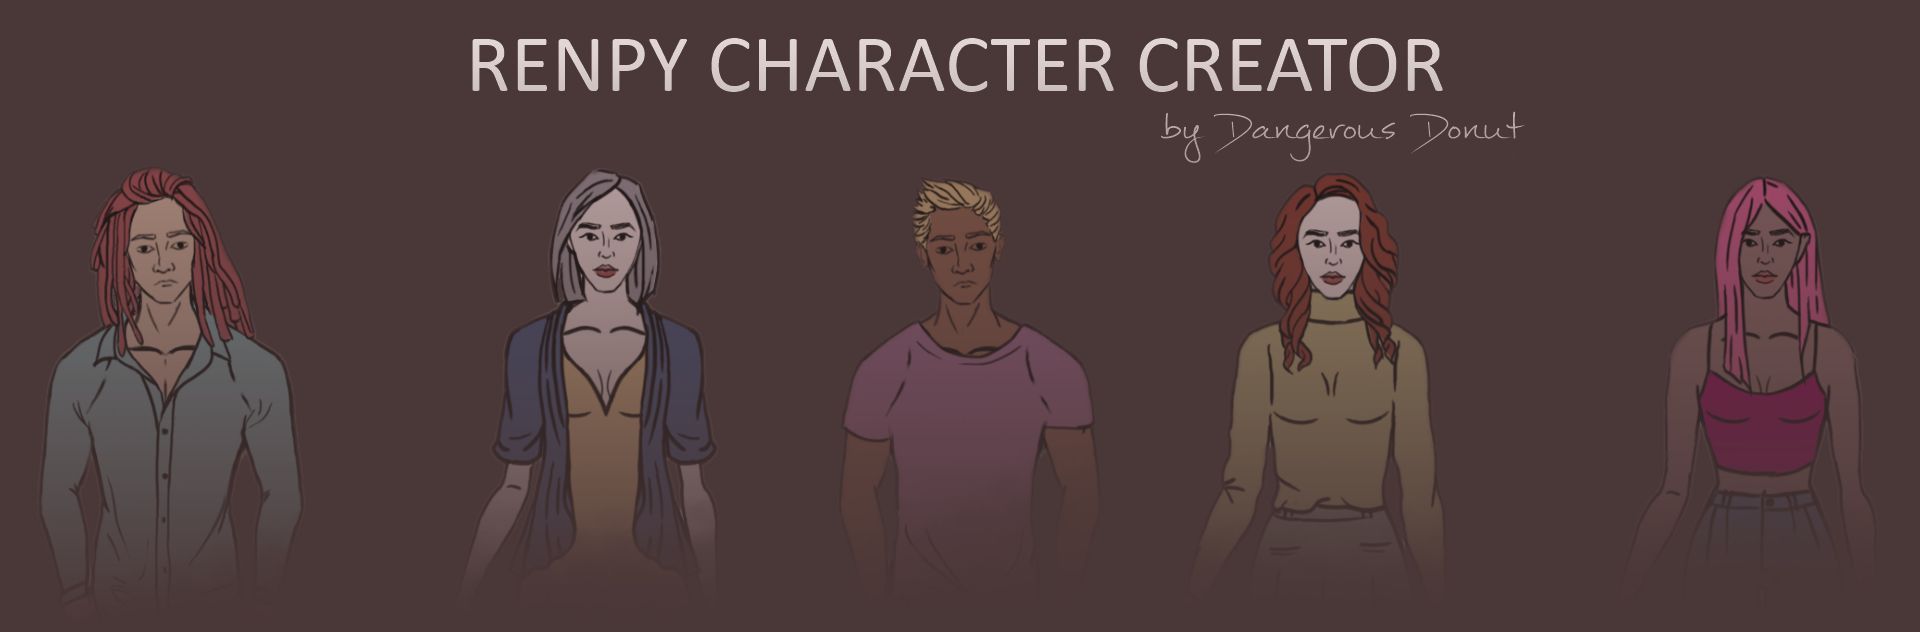
What is the RenPy Character Creator?
This Character Creator made by Dangerous Donut Games, is a Ren'Py template designed to provide players with extensive freedom to create and personalize their characters, allowing them to immerse themselves fully in the story. Its design emphasizes a high level of customization while requiring minimal coding adjustments, making it a perfect solution for developers who want to add depth and personalization to their games without added complexity.
How to modify the RenPy Character Creator?
If you're looking for information on how to use the Character Creator, that's the wrong post. You should check here instead.
GUI elements
All GUI elements for the base Character Creator can be found in the image/gui folder. The tab icons are located in the images/tabs folder. You may replace them with your own icons, but ensure the file names remain unchanged. I also strongly recommend that you match the size of your custom GUI and tab icons to the original ones, as discrepancies in size may disrupt the layout.
Background
The background image is located in the /images folder and is named background.webp. The "lightbulb on" background (background shown when the user clicks on the lightbulb button at the top left corner) is named background1.webp in the same folder. You can replace them with your custom backgrounds, but please, ensure the file name and dimensions remain unchanged.
To disable the lightbulb function, simply comment out the following code:
if lightbulb:
add im.Blur(f"background1{fformat}", 2.0)
imagebutton auto f"gui/lightbulb_%s{fformat}" align (0.02, 0.02) action ToggleVariable("lightbulb", True, False)
To decrease, increase, or remove the background blur, you need to edit the number after the file name in the im.Blur function. You can find the relevant code by searching for the following lines in the screen.rpy file:
add im.Blur("background{fformat}", 2.0)
add im.Blur("background1{fformat}", 2.0)
Styles
All custom styles used to design the Character Creator can be found at the beginning of the # CHARACTER CREATOR SCREENS section in the screens.rpy file.
Sprites
The sprites' base is created using two images: the skin and the outlines (referred to as skin and skin2). The skin image is the one that changes when the user adjusts the character's skin color, while the outlines remain unmodified.
In the current version of the Character Creator, two base sprites are used. The number of sprites cannot be changed. However, you can modify the sprite images by replacing the following files:
- sprite1-skin.webp and sprite1-skin2.webp for the first sprite
- sprite2-skin.webp and sprite2-skin2.webp for the second sprite
Please ensure that the file names remain unchanged. I also strongly recommend maintaining the same size and transparent backgrounds as the original images. If you want your character to have different facial expressions, make sure your outline images do not include any facial features.
Clothing and Hair Options
The various clothing and hair options for the character can be found in the following folders:
- images/hairs (for the Hair tab)
- images/shirts (for the Tops tab)
- images/jackets (for the Jackets tab)
- images/pants (for the Bottoms tab)
- images/shoes (for the Shoes tab)
Just like the sprite base, each item is made up of a color image and an outline image, which are layered on top of each other. If you want to customize these items, you'll need to create two images for each: one for the color and one for the outline. Be sure to keep the filenames the same.
The images should have a transparent background and be the same size as the sprite base. Additionally, make sure each item is properly positioned so it aligns correctly with the sprite base.
For example, here are 3 images from the character creator:
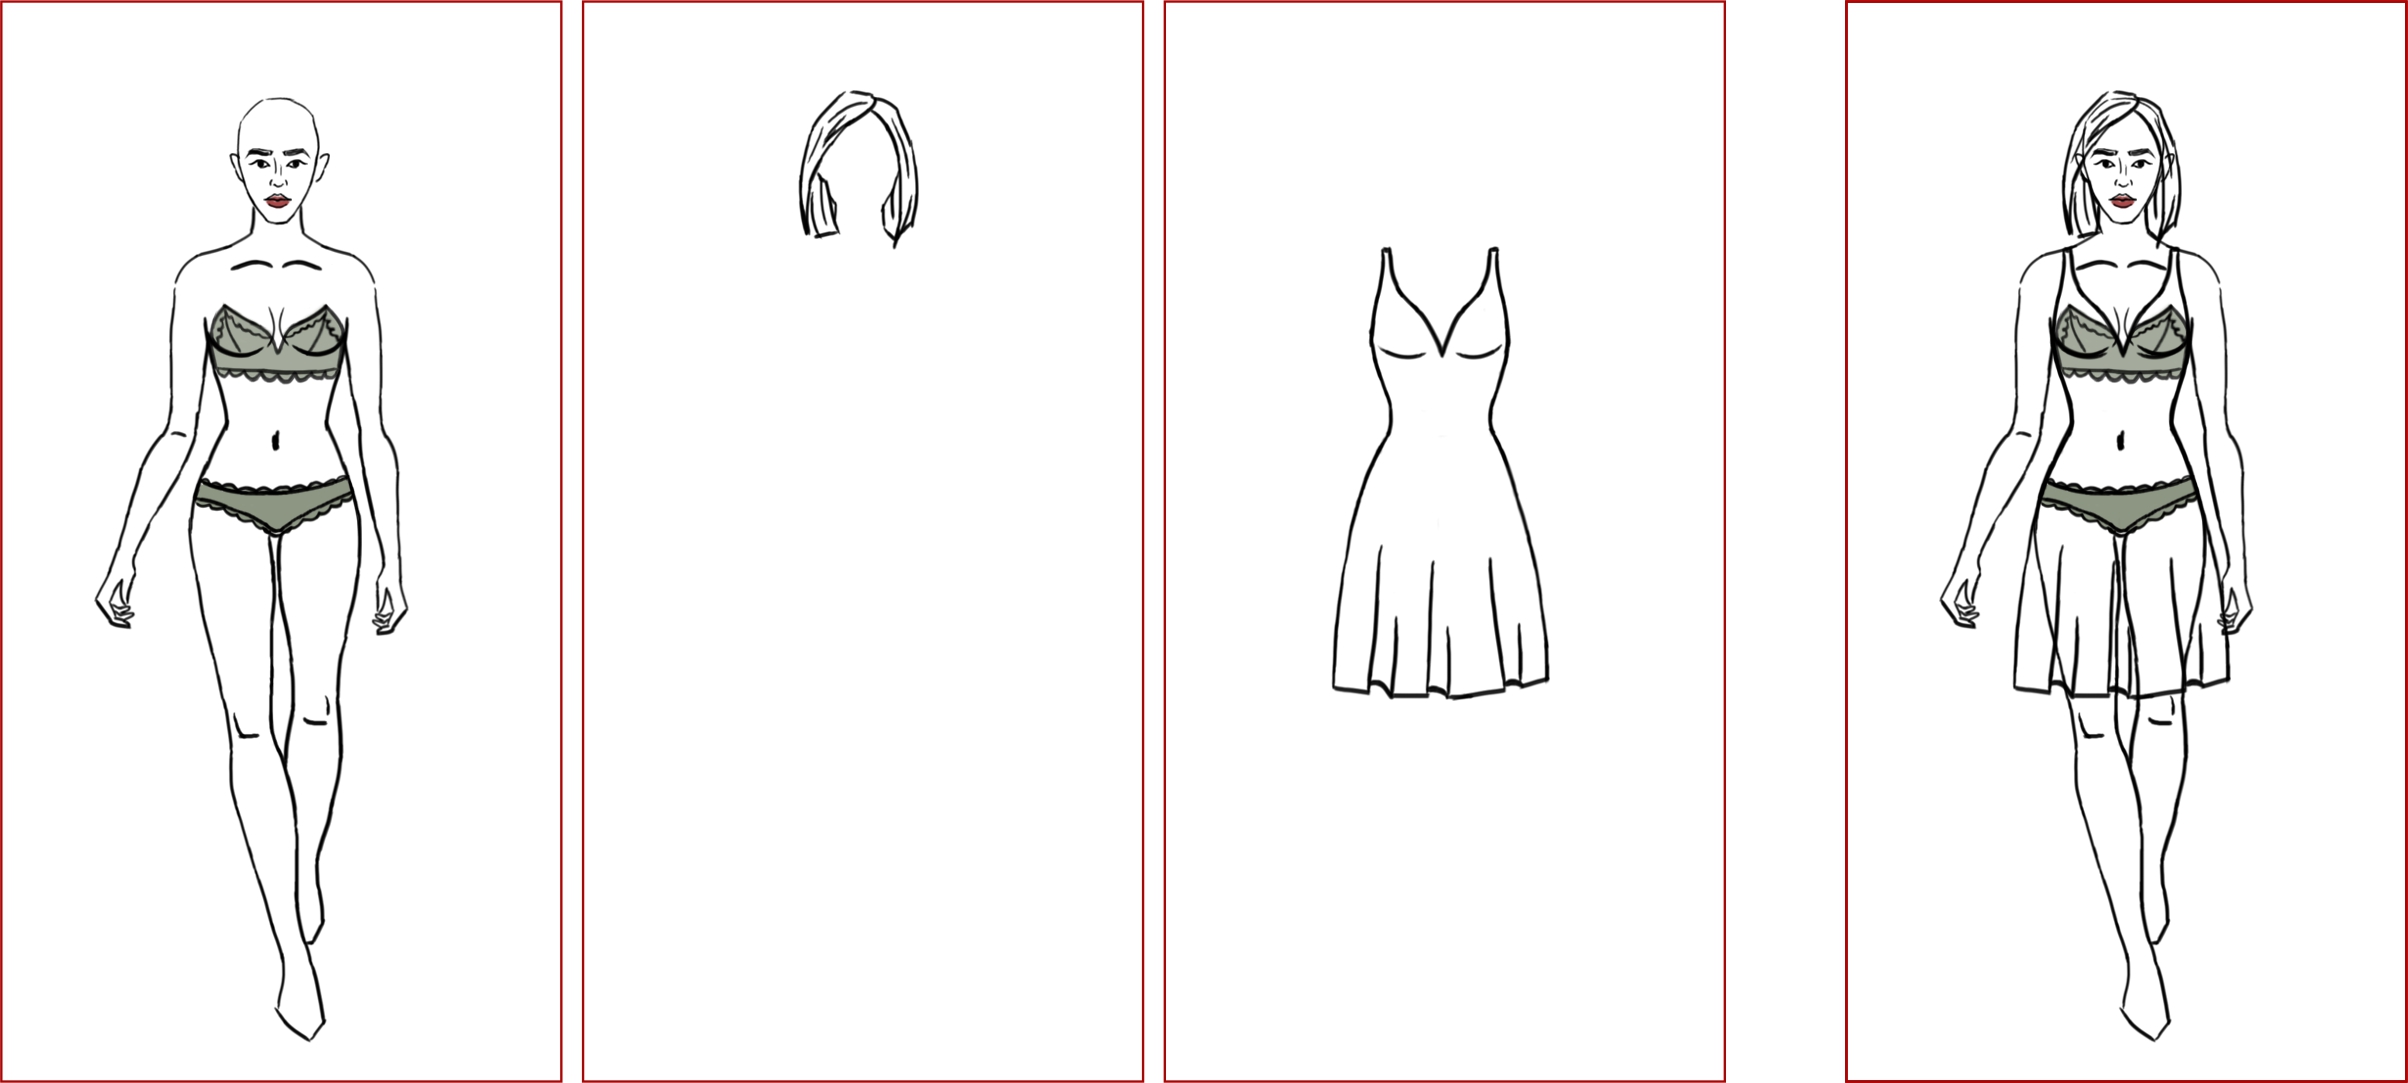
I added the red border to show the outlines of the images. All 3 images are the same size and all the white is transparent background. When we put them over each other, they line up perfectly without any need to adjust their individual xpos and ypos. If you use your own custom images, you should create them in the same manner to ensure there are no disruptions to the layout of the Character Creator.
Unlike the sprites, you can modify the number of options in each category, remove existing options, or add new ones. If you add more options, make sure to maintain the same naming format. For example, if you want to add a sixth hair option for sprite1, you should create a color image named sprite1-hair6-1.webp and an outline image named sprite1-hair6-2.webp.
Note that if you change the options in any category, you will need to make corresponding changes in the thumbnails, as the number of options is tied to the declaration of the thumbnails.
Thumbnails
In each category folder, you will find a subfolder named /thumbnails. Inside, you will find the circular icons displayed between the arrows in each tab. Each thumbnail corresponds to an item within the category and is named accordingly. For example, in images/hair/thumbnails, you will find sprite1-hair1-idle.webp and sprite1-hair1-hover.webp, which represent the idle and hover states of the thumbnail for the first hairstyle for sprite1. These correspond to the images in images/hair - sprite1-hair1-1.webp and sprite1-hair1-2.webp.
If you've made any changes to items within the parent category, please follow these steps to ensure the code functions correctly:
- If you've modified an item with your custom version, ensure that the corresponding thumbnails are updated accordingly.
- If you've added new items, create thumbnails for both the idle and hover states. Make sure these thumbnails are named correctly, following the format of the existing ones, and numbered to correspond to the correct item.
- If you've removed an item, you will need to rename all subsequent items (in the thumbnails folder and the items folder) to ensure that the numbering remains consecutive. This way, no number is skipped. For example, if you remove item images/shirts/sprite2-shirt3-1.webp and images/shirts/sprite2-shirt3-2.webp, you should rename the following item(s) - for instance, images/shirts/sprite2-shirt4-1.webp and images/shirts/sprite2-shirt4-2.webp to images/shirts/sprite2-shirt3-1.webp and images/shirts/sprite2-shirt3-2.webp, respectively. Be sure to update all the relevant thumbnails as well.
Facial Expressions
There are no expressions for the characters by default but if you want to add your own, here are the steps you have to follow:
- Save skin2 without any facial features.
- Draw and save your facial expressions following the same size and transparent background rules as sprites and hair/clothes. All expressions should be saved in /images and be named by the name of the sprite, a dash and the name of the emotion. For example: sprite1-happy.webp, sprite2-sad.webp.
- To use them in the script, when showing the sprite screen, use the name of the emotion as the third attribute. for example show screen mc_sprite(0.5, 0.5, "happy"). (NB! If you don't use facial expression always put False in place of the expression when you use transforms, ex. show screen mc_sprite(0.5, 0.5, False, pulse_effect))
Image File Format
At the moment, all images are .webp to keep the template size low. Webp can be used for PC games too (not just for web) and is a great option to make your game lightweight. However, if you want to change the file format, you can do this by editing the following line:
- define fformat = ".webp"
All images related to the character creator should be the same format. In the files included in this template you will find additional folder /images with all relevant subfolders and all images in .png. You will also get all .cpt image source files that you can open and edit in Corel PhotoPaint. If you need the source files in a different format, leave me a comment and I will do my best to accommodate you.
Icons used in the Character Creator: pants, shoes, blow dryer, shirt, hoodie, lightbulb, return arrow
Leave a comment
Log in with itch.io to leave a comment.