Character Creator for RenPy
How to use the Character Creator for RenPy
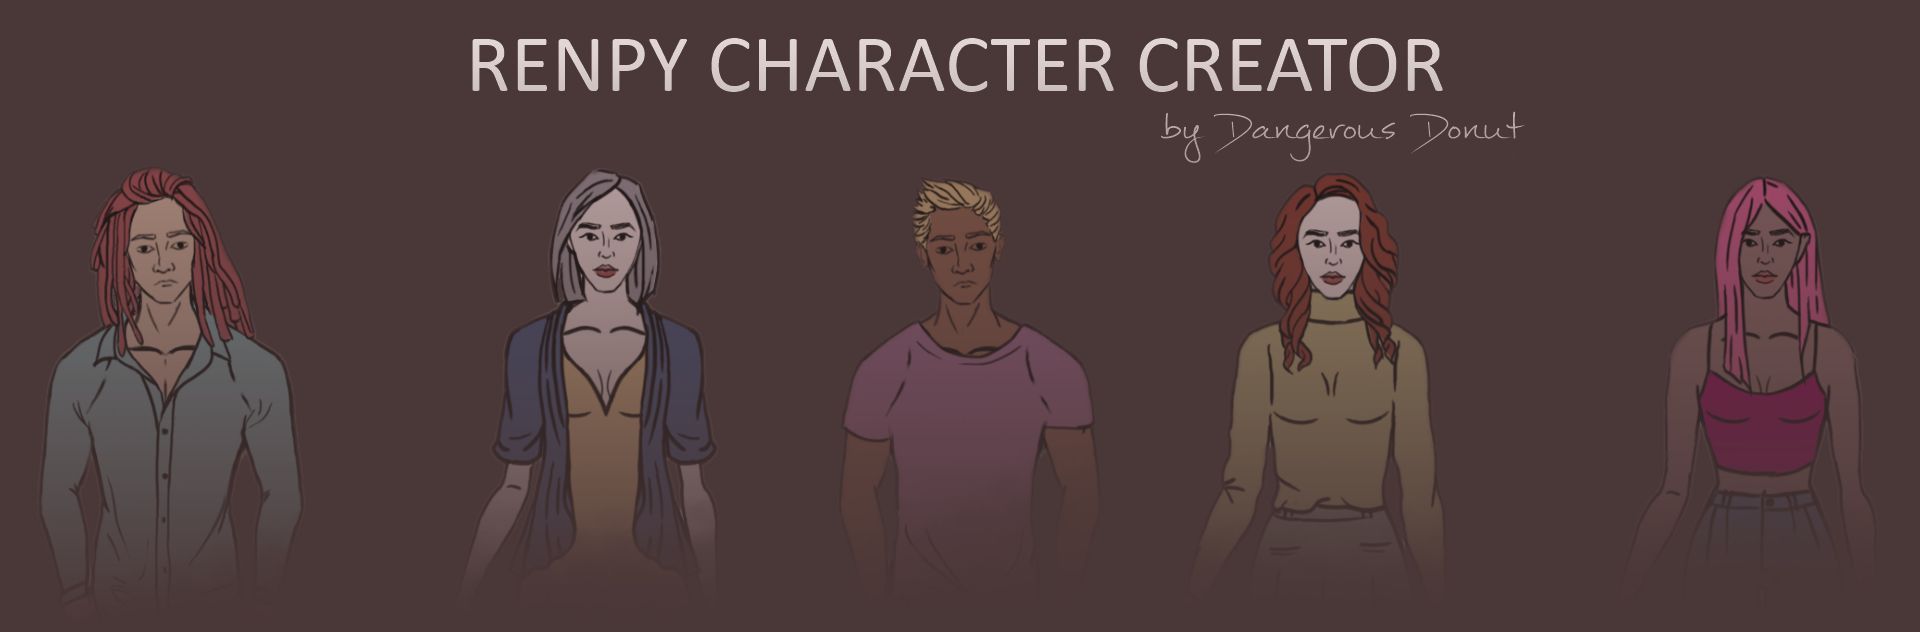
What is the RenPy Character Creator?
This Character Creator made by Dangerous Donut Games, is a Ren'Py template designed to provide players with extensive freedom to create and personalize their characters, allowing them to immerse themselves fully in the story. Its design emphasizes a high level of customization while requiring minimal coding adjustments, making it a perfect solution for developers who want to add depth and personalization to their games without added complexity.
How to use the RenPy Character Creator?
If you're looking for information on how to modify the Character Creator, that's the wrong post. You should check here instead.
Copy Code
The bulk of the character creation system is implemented in the section labelled # CHARACTER CREATOR SCREENS within the screens.rpy file. To integrate the character creator into your game, simply copy the code from # CHARACTER CREATOR SCREENS to the end of the file, and paste it into your game's screens.rpy file.
Connect Character Creator With Your Game
To activate the code, display the screen character_creator while the game is in a Hard pause. You can achieve this by:
- To add a custom button to your main menu that displays the character_creator screen when clicked, open the screen.rpy file and locate the screen main_menu() section. Within this section, insert a textbutton element in the main menu layout, such as textbutton _(\"Character Creator\") action ShowMenu('character_creator'). This will create a button labeled "Character Creator" that, when clicked, will show the character_creator screen.
- Alternatively, you can modify the action for your main menu's Start button by changing action Start() to action ShowMenu('character_creator').
Copy Image Folder
Copy the entire /images folder into your game, replacing the existing folder. Alternatively, you can copy the art and subfolders individually, ensuring that all file paths match those in the template and that file names remain unchanged. Additionally, copy the /fonts folder in your game.
Which character is chosen is kept in the variable persistent.character. The name of the character is in variable persistent.name and the pronouns are in persistent.pronouns, where persistent.pronouns[0] = "she" or "he" or "them", persistent.pronouns[1] = "her" or "him" or "them" and persistent.pronouns[2] = "her" or "his" or "their". You can use them in your script.
Use Created Character in Script
Instead of an image, the character is "assembled" in screen mc_sprite(x, y, face=False, transform=no_action). You can use this screen as an image, show it in your script, and perform transformations and transitions. The arguments x and y are the align of the sprite - they should always be present; face is used for adding expressions (if you don't use expressions always put False as the third argument when using transforms); and the transform argument is referring to a transform that should be executed on the sprite.
- To show the sprite normally, you use show screen mc_sprite(0.5, 0.5)
- To show the sprite with a transition, you use show screen mc_sprite(0.5, 0.5) with dissolve
- To show the sprite with a transform, you use show screen mc_sprite(0.5, 0.5, False, zoom_in_effect)
In the script.rpy file, you will find examples of manipulations used on the sprite. You can also preview them by clicking the Start button in the top left corner of the Character Creator screen.

Facial Expressions
There are no expressions for the characters by default but if you want to add your own, here are the steps you have to follow:
- Save skin2 without any facial features.
- Draw and save your facial expressions following the same size and transparent background rules as sprites and hair/clothes. All expressions should be saved in /images and be named by the name of the sprite, a dash and the name of the emotion. For example: sprite1-happy.webp, sprite2-sad.webp.
- To use them in the script, when showing the sprite screen, use the name of the emotion as the third attribute. for example show screen mc_sprite(0.5, 0.5, "happy"). (NB! If you don't use facial expression always put False in place of the expression when you use transforms, ex. show screen mc_sprite(0.5, 0.5, False, pulse_effect))
Leave a comment
Log in with itch.io to leave a comment.